Friday, July 14, 2017

Paint Your Own Art and PPF

Today is Paint Party Friday. You will find the link to your right, on my sidebar.
I am loving doing these children's illustrations on 52 Weeks Illustration Challenge. Some of my earliest memories as a child are of me sitting at the kitchen table drawing with a humble lead pencil, and an exercise book or a piece of butchers paper from mum's shopping, that I would de-crinkle , flatten out, and use.

This weeks theme or prompt word  was "growth".
I immediately thought about a pregnant belly, having grown 6 myself, it is one of my favourite times of life. I loved being pregnant. Here is a new mum, in thought, wondering how her life will change. I went away from my usual circle, but think I maybe should have done it still. Oh well. You live and learn.


I also thought it would be nice to show you how to make your very own piece that you can frame and hang up in your house.


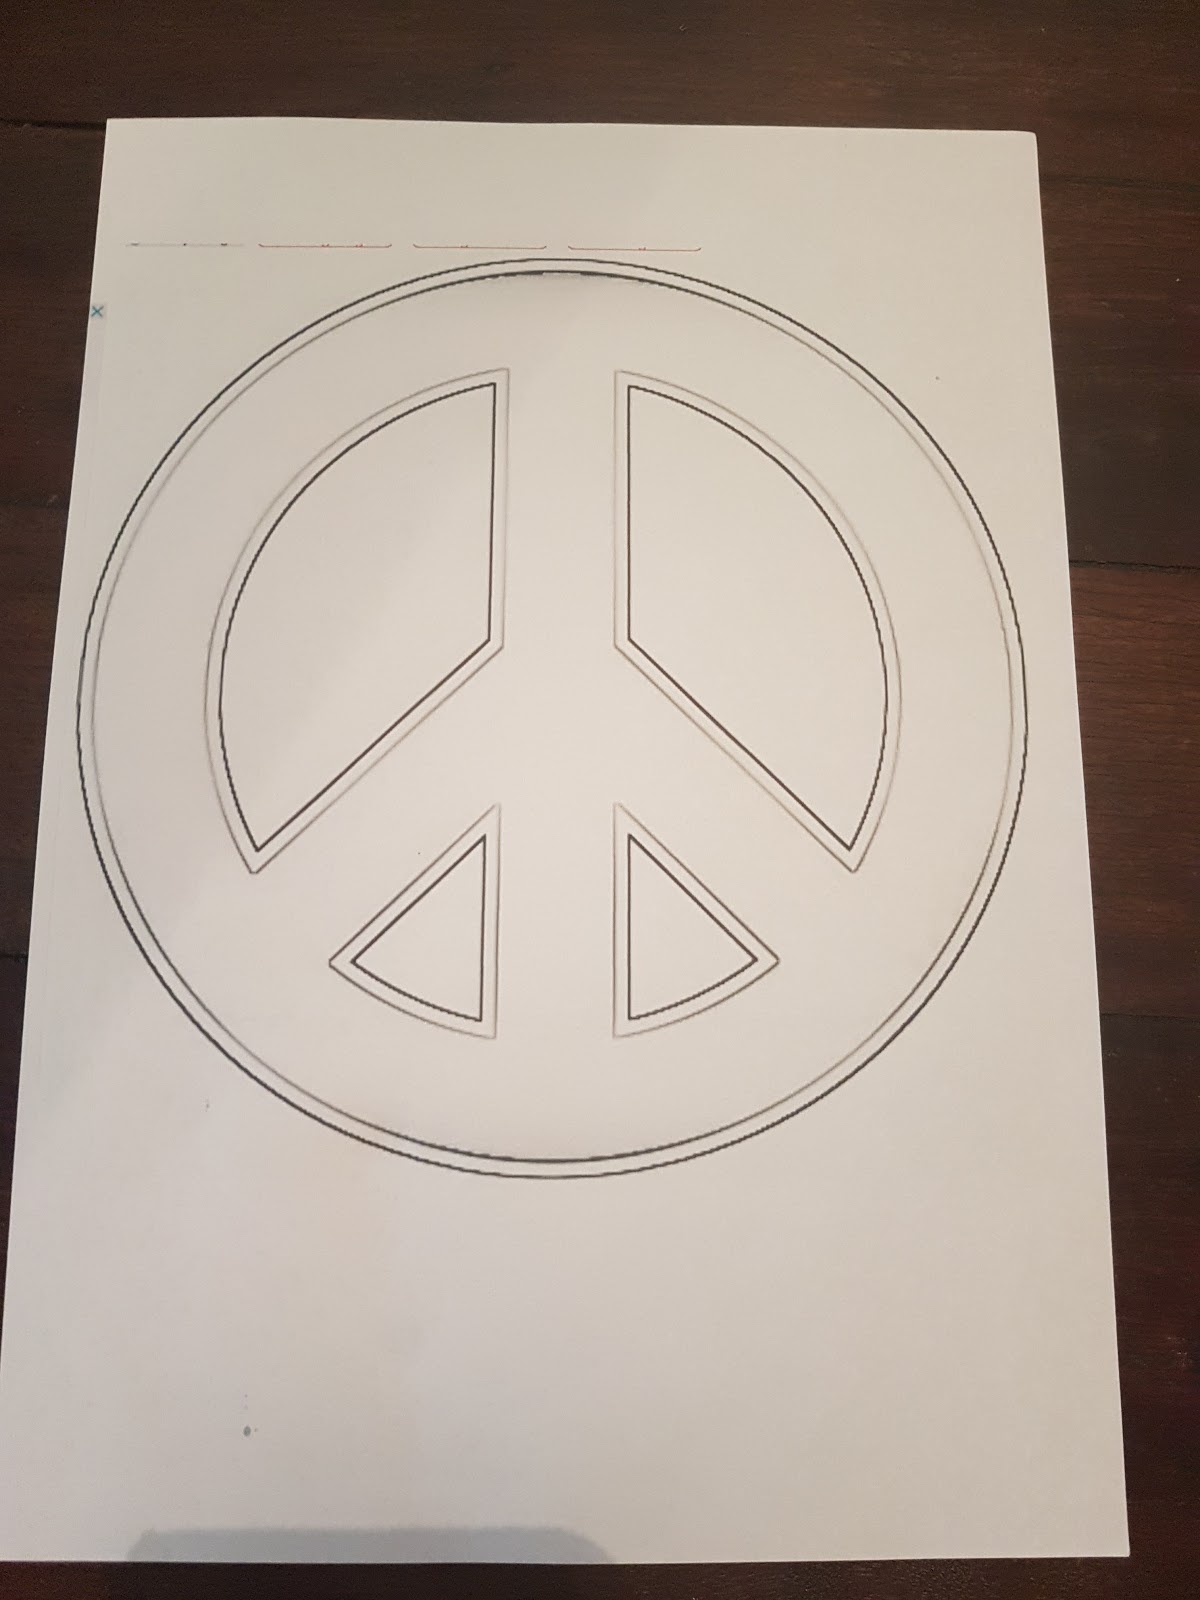
I copied a generic peace sign from the internet. Then I held it up to the light, put the paper I was painting on in front and roughly drew where I needed to paint.


 I used water colours to draw leaves and flowers and filling in between. 


I then sticky taped the outline to the painting and using a craft knife, cut out around the shape. 

And there you have it.
A simple little thing to frame. I will be on the search to find a frame just for this. I am quite happy with it.


I thought I better start to live up to the name of my blog and create the peace sign. 


And now, some of my favourite paintings from the past little bit. I did a course at Willowing, which many of these came from, and which I thoroughly enjoyed, it was a Fairy Tale course, thus all the Fairy Tale characters.

                                                                      My own


Tamara's lesson from Willowing


           A lesson from the Willowing course


A spin off from the lesson from willowing.


My own design, this is actually Luna Lovegood from Harry Potter.


                                                Red Riding Hood, lesson from Willowing course.


                                                 Goldilocks and the three bears, my own design.


                                             A little piece I did...

OK...would love for you to subscribe to my blog. I keep it add free so you can see it all clearly, without ads flashing and getting in the way of content. Just go to the top right of my sidebar and you pop your email in there. You will get sent an email each time I post.

Let me know if you give my little peace sign a go.
And, I am definitely looking forward to seeing everyone elses paintings for PAINT PARTY FRIDAY.

You can also subscribe to my blog via email. Just click on the right sidebar where it says subscribe via email.

Until next time
Lots of it
Mandy
xxx


Thursday, July 13, 2017

Home Tour Part 1

Today is all about home and garden. I thought it would be fun to show you some of the rooms I love to hang in. 

I don't spend a lot on furniture and home decor. I have in the past, but honestly, in our house it doesn't last any longer so we are happy with IKEA mostly, with sparklings of kmart and my house and adairs. 

The room that I am mostly in, is the front room, as we affectionately  call it, or, our living room. It's really meant to be a formal lounge and dining, but we have just turned it into one big room to hang, play games in and watch tv. Well, actually, we watch a whole lot of movies. 

So, here it is.


Here is my entry. It is a kind of funny shape. It has 6 sides, but it holds our beloved fiction books, well, some of them, and my precious Harry Potter collection...tad obsession here...lol...


Here is the dining area. We have had this table for many years. I fell in love with it all those years ago...it was shiny and made from recycled wood. I am wanting to get some black industrial chairs to go with it. I think that will go really well....need to paint the walls and get some decent pictures up on the wall...
This room also has what we call the "new unit" which  holds all our bulk from old stuff basically. We have had is for about 15 years so it's not really new...lol...


Well, there it is. A few rooms. Very ordinary, but it's home.
Would love if you subscribed to my blog. Look to the top and left, you will see where you enter your email, and each time I post, you can get it sent to your email.

Until next time
lots of it
Mandy
xxx


Wednesday, July 12, 2017

Saving Money On Food

16 years ago, when my twins came along and they were very unwell, I kind of knew I wouldn't be able to work for a while. 16 years later, I am still a non paid worker, and I am still not sure I will ever be able to work out of home due to needing to be there for my kids. It never stops me thinking of a way for me to earn money from home, but that's for a different blog post.


Having one wage means I became very good with money. Paying bills, gifts, living, and food.
I firmly believe the biggest savings can be made when buying food.
There was a period in my life where I was spending $600 a week on food.
It wasn't that we ate $60 worth of meat every day....it was the fact that every second day I would go down the shops for bread and milk, and then come home with three or four shopping bags of groceries and spent between $60 and $140. And that was a top up shop, having already done a "weekly" shop.

Crazy right!?

It soon added up.

A couple of years ago I made a decision. Well, actually, a few decisions, and I am constantly refining the way I shop still, to make it healthier, and leaving me with more money in my pocket for other things.

You don't need to spend less and be careful with your money just because you don't earn a whole lot. Noone knows what's ahead. A little savings in the bank is a a good thing. Maybe save for a holiday or a new car.
As I said, I think the biggest savings can be made on our food purchases. After all, we still need a roof over our head and rent or mortgage is fixed. Bills are fairly fixed as well, although we can be very mindful of these and save a little. Thoughtful spending is the way to go.


My goal was to spend less than $500 on food. Now, that might seem a lot of money, but remember, we have 8 in our family. I don't exactly count how much I spend every week, although that may be a good thing, but I definitely know we spend less than that these days, and we eat very healthily (most days 😜) I have a bigger goal at the moment, which I will talk about next week.

So, here is my list for cutting down on grocery spending.

1. Look at the brochures.
 Often there are sales for half price items, or items on sale. Don't be afraid t go t two or three places to make the most of those sales. Shop in the one go.

2. MAKE A SHOPPING LIST.

Really, this one is so important. I shop weekly. I don't have enough room in my fridge or freezer too do any more than that. I write down what 7 meals I will cook for the family, then I do sublists titled, meat, fruit and veg, cold, other, cleaning, and bread. This covers it all. You can work your meals around what is on special.

3. Grow our own.

Even if it is just some herbs in a pot. Where I live, to buy a bunch of herbs is 3 to 4 dollars per bunch. Now, that could be $20 for a weekly shop just on herbs. Crazy right, especially when they are so incredibly easy to grow.
The most used ones are rosemary, basil, thyme, oregano, mint, parsley, and some chilli. Grow from seeds, which will keep you in herbs for years, or buy little seedlings from your nursery or markets. Leafy greens are also very easy to grow.
We als have man citrus which are very easy to grow too.


4. Start a produce swap group.

I started one last year. I have a Facebook group, currently with very active swapping happening. It is a great idea.

5. Stop buying processed foods.
Seriously, this has been an amazing thing for our family. Make from scratch is the way to g for everything. Better still, just have fruit and the garden lme that for snacks. He kids will eventually get used to it. Don't get me wrong, we still have that sort of food, but it is not a weekly that Ng we buy.


6. Buy in bulk.

Here in Australia, we have a place called Honest to Goodness.
It have a lovely  friend who organises  this group buy for us. It's a group coop I guess. Nothing stopping you from getting together with friends to do this. It is how we get our organic product for cheaper than the regular stuff you get at the supermarket.
I also buy washing powder in big boxes too. Big savings there.

7. Have a certain amount of cash for those little extras you need through the week. We always need more more milk and bread. It f you only take he money you need you won't have it to spend on anything extra.

8. Less meat and more veg.
We have a vegetarian meals n our family, as well as one who only eats a small amount of chicken breast. So we often have vegetarian meals, and I have learnt to cook our meat meals with much less meat and a whole heap of vegies, and luckily we love vegies here...you can get protien from chick peas, lentils and beans. You can als top up meat dishes with these too.

9. Make a meal "whatever" night. That's when the kids cook themselves whatever is in the cupboard or fridge. Eggs on toast, baked beans on toast, grilled cheese, frittata. Teaches the kids how to cook and also means one less meal you have to buy for.

10. Buy eggs from a chook farm or a Markets.

We go through a lot of eggs each week. They are a cheap meal, and always handy to have.
We get a tray of free range eggs from the markets for anything between $8.50 for 30 for small ones, to $14 for extra large ones. We get a few trays as the market I get them from s only there monthly.


These are great ways of saving, and seriously, this saved me a couple of hundred dollars a week.
Am doing please, take your own bags to shop with and save on putting plastic bags into landfill.

Do you have any ways of saving money on groceries? I would love to hear them.

Until next time
Lots of it
Mandy
Xxx


Tuesday, July 11, 2017

Science, Stage 5, DNA and GENETICS

It is sometimes hard to get the kids excited about doing Science. We have tried so many things, notebooking being Maddie's favoured way and Peter Adams being Jacob's.

They have achieved many of the outcomes along the way, with all these various curriculums, and in there last 3 terms of doing stage 5, I thought it would be fun for them to do a more hands on approach, after all, they are the sorts of things most of us remember best.

The kids are learning about DNA and revisiting Genetics, so I purchased a couple of good kits with experiments. The first is the K'NEX DNA kit...it looks fantastic, and the sdecond is the Sciencewiz DNA kit. Also with experiments, activities and an information booklet. 

From visits to the library, and purchasing books, these will be the books they will be using, plus we have a large lot of general science books which actually have information in them as well.


Here is a great little powerpoint we will be using.

http://sonhank.com/wp-content/uploads/2015/10/Genes-Chromosomes.pdf

Here is a little booklet to go with it.

http://sonhank.com/wp-content/uploads/2015/10/Genes-and-Chromosomes-worksheet.pdf

And another brilliant site with lots of information and 

https://geneed.nlm.nih.gov/

If you would like the programming side of things I am happy to email it to you.
Just leave me a message with your email and I will send it off to you.

Until next time
lots of it
Mandy
xxx


Monday, July 10, 2017

Marmalade Recipe

Today is RECIPE day.
Overt the weekend I made some orange butter and marmalade. We have a tree full of itty bitty oranges, and we won't eat them all. So, I picked a whole lot of them and got to cooking.


I used THIS recipe but had to tweek it a little.


Gather all your equipment.


Slice up your 6 little oranges, zest and juice of one lemon, add your 6 cups of filtered water and boil. I did this for about 10 minutes.


Don't forget to boil/sterilize your jars and screw tops for 10 minutes. keep in the pot hot until ready to pour the jam.

Once the skins are softened, you were supposed to add 3 pounds and 12 ounces of sugar. I popped this into a converter and apparently it is supposed to be 1.5 kilos, or 7 cups of sugar. Boil it up constantly stirring. you are supposed to do this until the jam, when added to a cold plate, gels up. I had to leave mine on for half an hour.

 Take your jars and, be careful...they are hot!!!! as is the jam, so keep little ones and pets away. 

Pour the jam into the jars, stopping just under the screw part of the jar.


Pop the lid and the screw top on. Screw up but not too tight...just so its sealed, and pop into the hot boiling water. Use the tongs. Boil, or water bath for 10 minutes.
make sure the water is about 3 cm above the top of the lids, so the jars will be totally submerged. Some tiny bubbles come from the jars, but it still doesn't get water in there if you have put the lids on properly.

  
Take them out carefully, making sure you don't touch the lids and especially don't touch the top...they will pop in on their own as they cool down. If you hear the pop that is perfect. It means it worked. If you didn't hear the pop it means it didn't seal properly, so you let these ones cool and keep in the fridge and use right away. 


I popped little stickers on mine, with date of jarring, although I doubt these will last long enough in our family for me to worry about...lol...

 Remember...THIS STUFF IS HOT!!!BE VERY CAREFUL!!! 

Well...there you have it. This made 4 whole jars and a little left over to use straight away.

Let me know if you give this a go. I figured out this would have cost about $0.40 per jar. Pretty good right.

Until next time
lots of it
Mandy
xxx


Sunday, July 9, 2017

Busy Weekend

You have to love a weekend...especially when it is filled with gorgeous sunshine during Winter.

This weekend I dedicated Saturday to pottering around the house, dropping C off to work and heading into the shops for some preserving equipment. All those oranges on the tree need to be used up. Had a coffee with Raymond and was inspired by how glorious the fruit and vegie shop looked, so I too a photo. I often take photos of things that I think look interesting.

We also went to a local market....it wasn't that good, and it was incredibly busy. I doubt we will go to that one again.


I picked some oranges from my tree and preserved so MARMALADE, and I also made some ORANGE BUTTER, which I will be supplying the recipes soon.
Raymond and I had purchased ten boxes of WHO GIVES A CRAP toilet paper. This company makes recycled toilet paper, ,the wrapping is recyclable, and they give 50% of their profits to places that need bathrooms in developing countries. Anyway, we dropped off 4 boxes to friends places up the mountains, and decided to head on up to some markets.

We firstly stopped at the Hydro Majestic, merely for the view...it was beautiful, and very, very cold...we lasted about 2 minutes...lol...this was the place my mum and dad went on their first date...considering they lived in Maroubra...a bit of a trek right!


We then headed on up to some markets at Wentworth Falls, grabbed a coffee and went further up the mountains to Blackheath. The Blackheath Growers Markets are a fabulous markets. We picked up a few things there and headed back home. I love trees, so of course took a photo of some, and another very old looking statue. I'm not really sure what it is, but I liked it...


A busy, and semi productive weekend.

Until next time
lots of it
Mandy
xxx

Challenge For This Weeks Food for the Family

It’s been a while I know. Life happens, keeps us busy, and you even forget you have a blog let alone write in it. So here it is...a CHAL...